Automate Tests with Travis CI
Tests are great. They prove that your code works the way you advertise it to work. But the best tests in the world are no good unless you actually run them.
Do you run your tests before checking in code?
Every time?
It’s hard to remember to run your tests every time. Even in the real world, teams run into trouble when they fail to run tests before checking in changes. So give up.
(well, not really, but augment your manual testing)
Automation to the Rescue
Instead, allow your repository to run your tests for you.
Github provides simple integration with a service called Travis CI.
Travis leverages the power of an automated build tool called Jenkins. This tool allows you to cofigure jobs that can involve pretty much all aspects of setting up software, including running tests.
You can download and install Jenkins on your own, but unless you
are a development team with complex needs, it’s probably overkill to do
so. Travis CI provides access to the test-running abilities of
Jenkins with a minimum of fuss and difficulty.
Getting Started
So long as your project has tests that can be run with a command, Travis is great for you. We’ll start with a simple example, a FizzBuzz repository. If you’d like to play along, you can fork this repository into your own github account.
The first step is to sign in to Travis. Luckily, you can simply sign in using the account you already have with github (no new account required!).

Travis will request rights to your repository
You’ll need to authorize Travis to allow it to access your repositories.
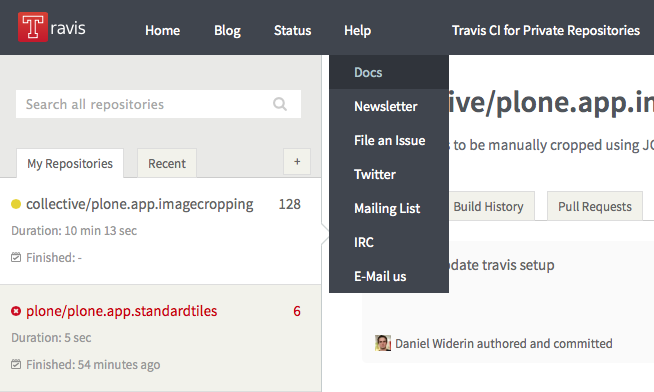
The docs link is found under the Help tab
Once you’ve signed in, click on the Help > docs link in the top and then click the big red Get Started button.
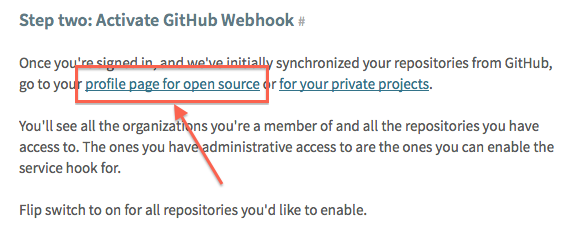
profile page link
The steps that are outlined on that page will tell you to go to your profile page. The link there is the easiest way to do so. Click it.
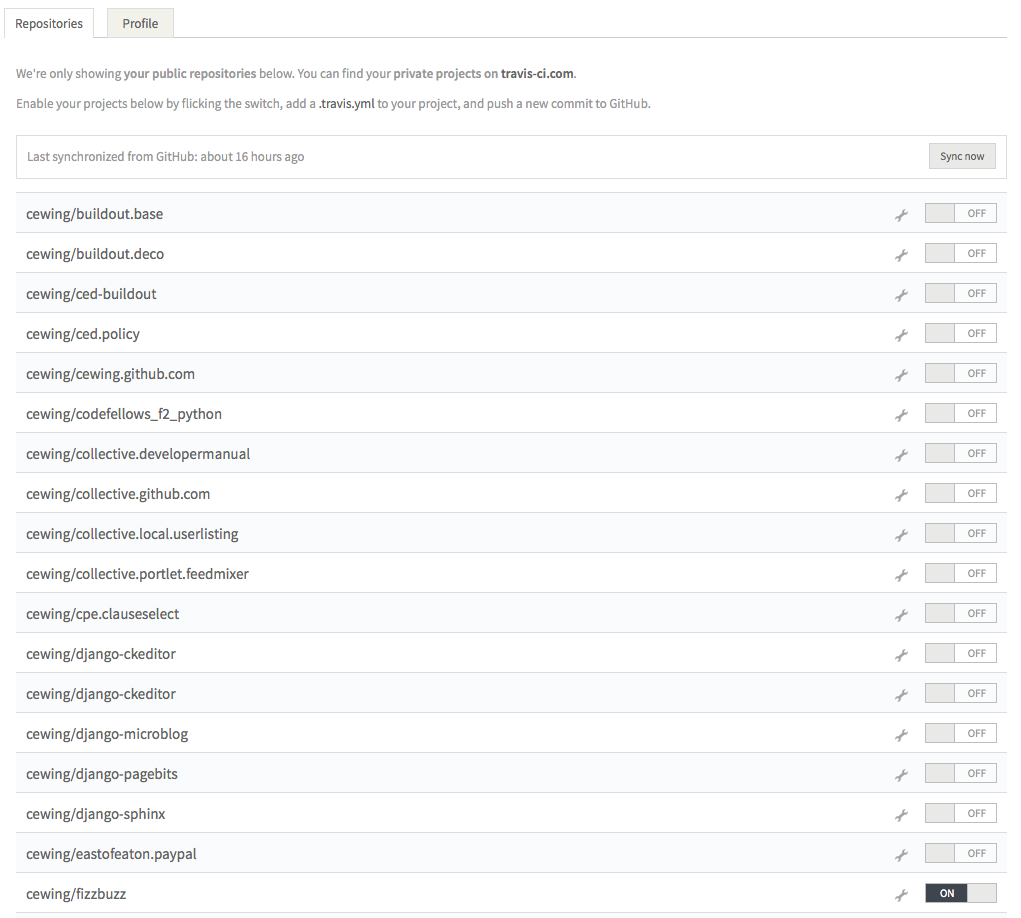
The repository list in TravisCI
When the page loads, it will contain a list of all the repositories that you have in your GitHub account.
For each, there is an on/off switch.
Find your fizzbuzz repository and turn it on.
Once this is done, you need to let GitHub know that you want Travis CI to have access to your repositories.
You do this by enabling the Travis Commit Hook.
In GitHub, find your fizzbuzz repository and on the right side of the
page find the repsitory settings (a little wrench and screwdriver icon).
Click it, and then on the left side of the page, find the Webhooks &
Services menu item and click that.
Check first to see if Travis CI is already listed in the Services pane on that page. If so, you can skip to Configuring Travis below.
If not, you want to configure a third-party service, so click on the Add
services button and find the Travis service in the long, alphabetical
list. Click it to open the settings for Travis CI.
You can configure a number of options, but to get started, all you have
to provide is your Travis Token. You can get this from your Travis
CI profile page by clickin on the Profile tab at the top of the page.
Paste it in the provided text box.
After you’ve pasted your token, check the ‘active’ box, then click Update settings.
Once the page reloads, you can verify that the token is right by clicking on Test Hook. If you see “Okay, the test payload is on its way.” then you’re all set.
Configuring Travis
Travis CI needs to know how your tests should be run.
It does this using a configuration file written in YAML.
For a Python project there are a couple of things to set up:
- You must inform Travis that your project uses Python.
- You must inform Travis which versions of Python are used.
- You must inform Travis wnat command to run to execute your tests.
- You can tell Travis what extra software needs to be installed.
For the fizzbuzz project, we want to test in Python 2.7 and 3.5
We’ll also need to install the lettuce package so that we can use it for our tests.
Finally, we need to provide the command to be executed in order to run our tests.
Here’s what the YAML file will look like:
language: python
python:
  - "2.7"
  - "3.5"
# command to install dependencies
install: "pip install -r requirements.txt"
# command to run tests
script: aloe
Formatting is important, in particular for list entries like python:
To set this up, we need to add a new file to our fizzbuzz repository with that content.
$ workon fizzbuzz
[fizzbuzz]
[master *=]
heffalump:fizzbuzz cewing$ pwd
/Users/cewing/projects/fizzbuzz
[fizzbuzz]
[master *=]
heffalump:fizzbuzz cewing$ touch .travis.yml
[fizzbuzz]
[master *=]
heffalump:fizzbuzz cewing$ subl .travis.yml
[fizzbuzz]
[master *=]
heffalump:fizzbuzz cewing$
Once you’ve entered the above content, you’re nearly there.
You’ve told Travis CI what it will need to build your project and test it.
But there’s still one thing missing, requirements.txt.
Installing Python Packages
When we create a virtualenv for the fizzbuzz project, we need to install aloe using pip.
Pip can also be automated to a degree by providing a list of packages to install (pip install -r requirements.txt).
But what goes in that file?
The aloe testing package depends on other packages.
These get installed automatically for us by pip, but how do we add them to our requirements without having to go back and read all the output of the install command.
Run the following command in your terminal, while you are in the root directory of your fizzbuzz repository and while your fizzbuzz virtualenv is active:
[fizzbuzz]
[master *=]
heffalump:fizzbuzz cewing$ pip freeze > requirements.txt
The freeze subcommand to pip will dump out a list of all the packages installed in a given environment.
Moreover, it will include information about the specific versions currently installed.
This is good, explicit is better than implicit. Especially when it comes to software versions. When you have a set of packages that work together properly it is always a good idea to record exactly the combination you have so that you can repeat it.
Running Your CI Tests
Now that you have all the pieces in place, you should be ready to roll. Add the two new files you’ve created to your fizzbuzz repository. Then commit and push them:
[fizzbuzz]
[master *+=]
heffalump:fizzbuzz cewing$ git add .travis.yml requirements.txt
[fizzbuzz]
[master +=]
heffalump:fizzbuzz cewing$ git status
# On branch master
# Changes to be committed:
#   (use "git reset HEAD <file>..." to unstage)
#
#   new file:   .travis.yml
#   new file:   requirements.txt
#
[fizzbuzz]
[master +=]
heffalump:fizzbuzz cewing$ git commit
...
[fizzbuzz]
[master>]
heffalump:fizzbuzz cewing$ git push origin master
Counting objects: 10, done.
...
To git@github.com:cewing/fizzbuzz.git
   68482be..3e3d283  master -> master
[fizzbuzz]
[master=]
heffalump:fizzbuzz cewing$
If all is well, you should be able to look at your main page in Travis CI and see your tests start, run and pass.
Advertise Your Awesome
Now that you’ve got CI running, and you have your tests passing, let the world know about it.
Add a bit to your README.md that displays the test results badge from Travis CI:
[](<travis_badge_url>)
In order to determine the url for your travis badge, you’ll go to the management page in travis for your project:
http://travis-ci.org/<your_github_name>/<your_project_name>
In the upper right corner you’ll see a small badge image showing the most recent status of your build. If you click that image, a dialog box will open that contains the URL for the badge. Copy it and replace the placeholder text in the model above.
And that’s it.
Next Steps
For your assignment outside of class, repeat this process for your data structure repository.
The more often you repeat a process like this, the better you will get at doing it. From now on, make sure to do it from the start for each repository you create.